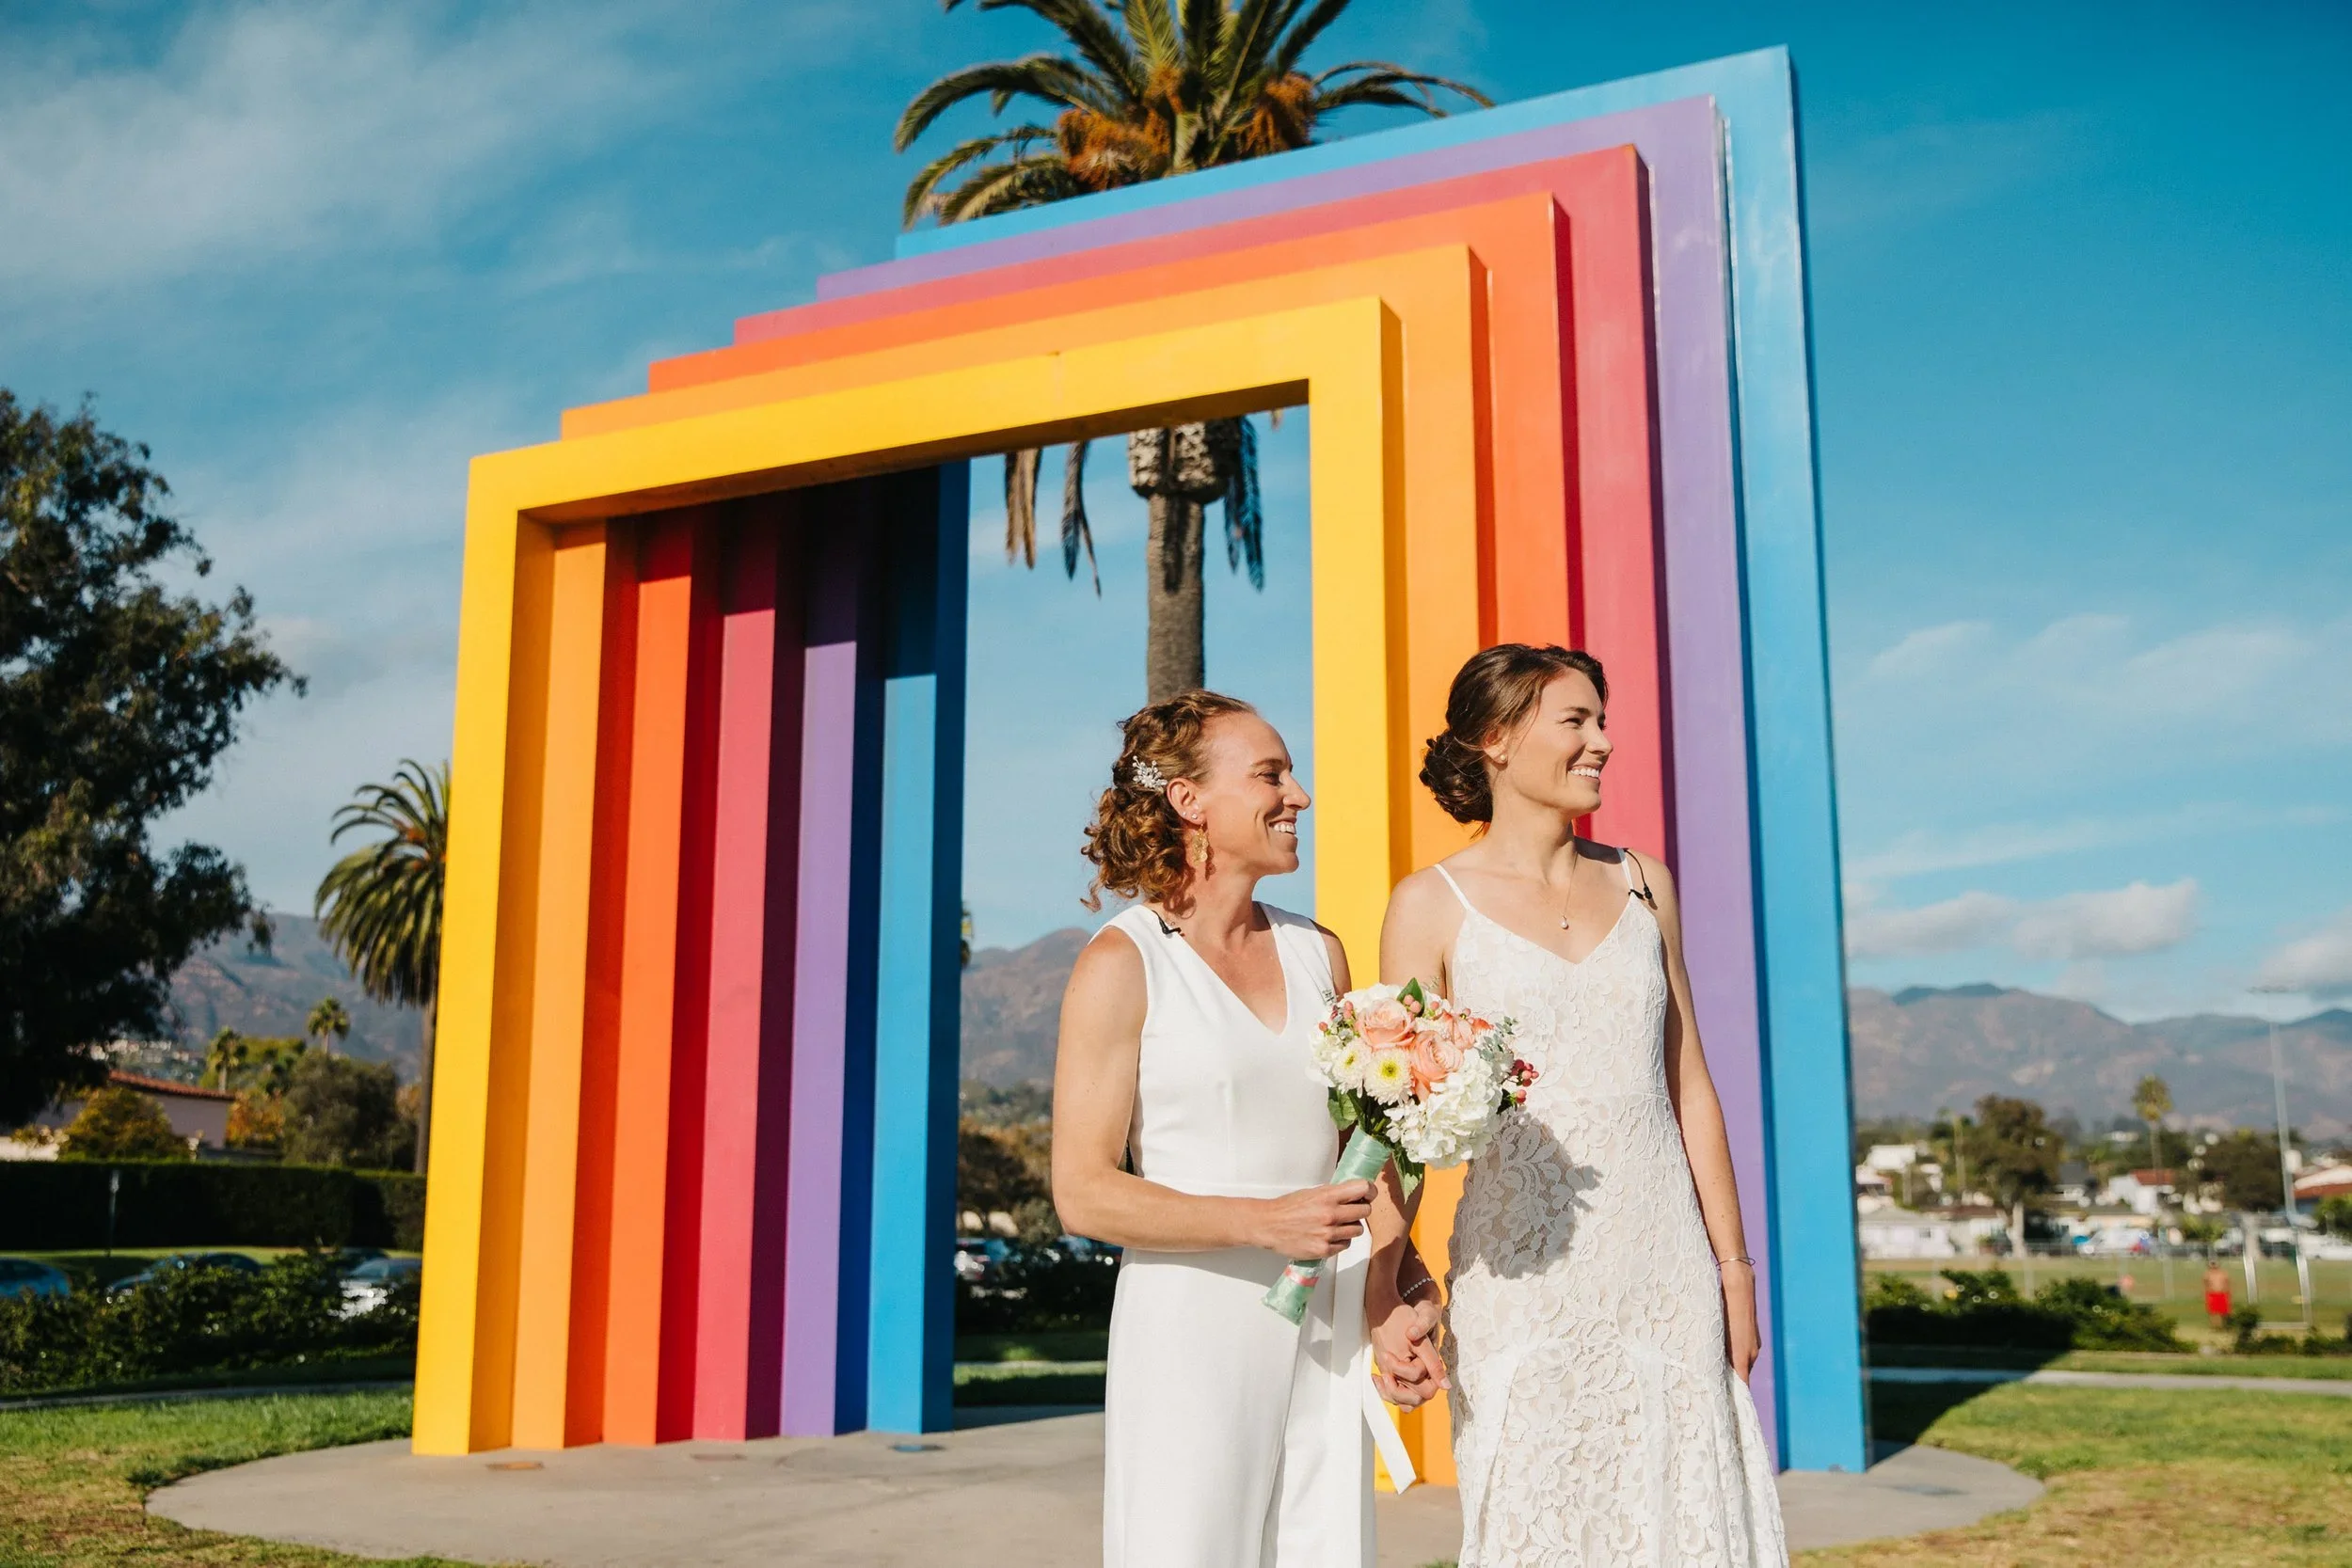
Jocelyn & Spencer,
Anna Delores Photography,
Half Full Photography,
Christian Oth Studio,
Augusta Ottillia Photography,
Grace Kathryn Photography,
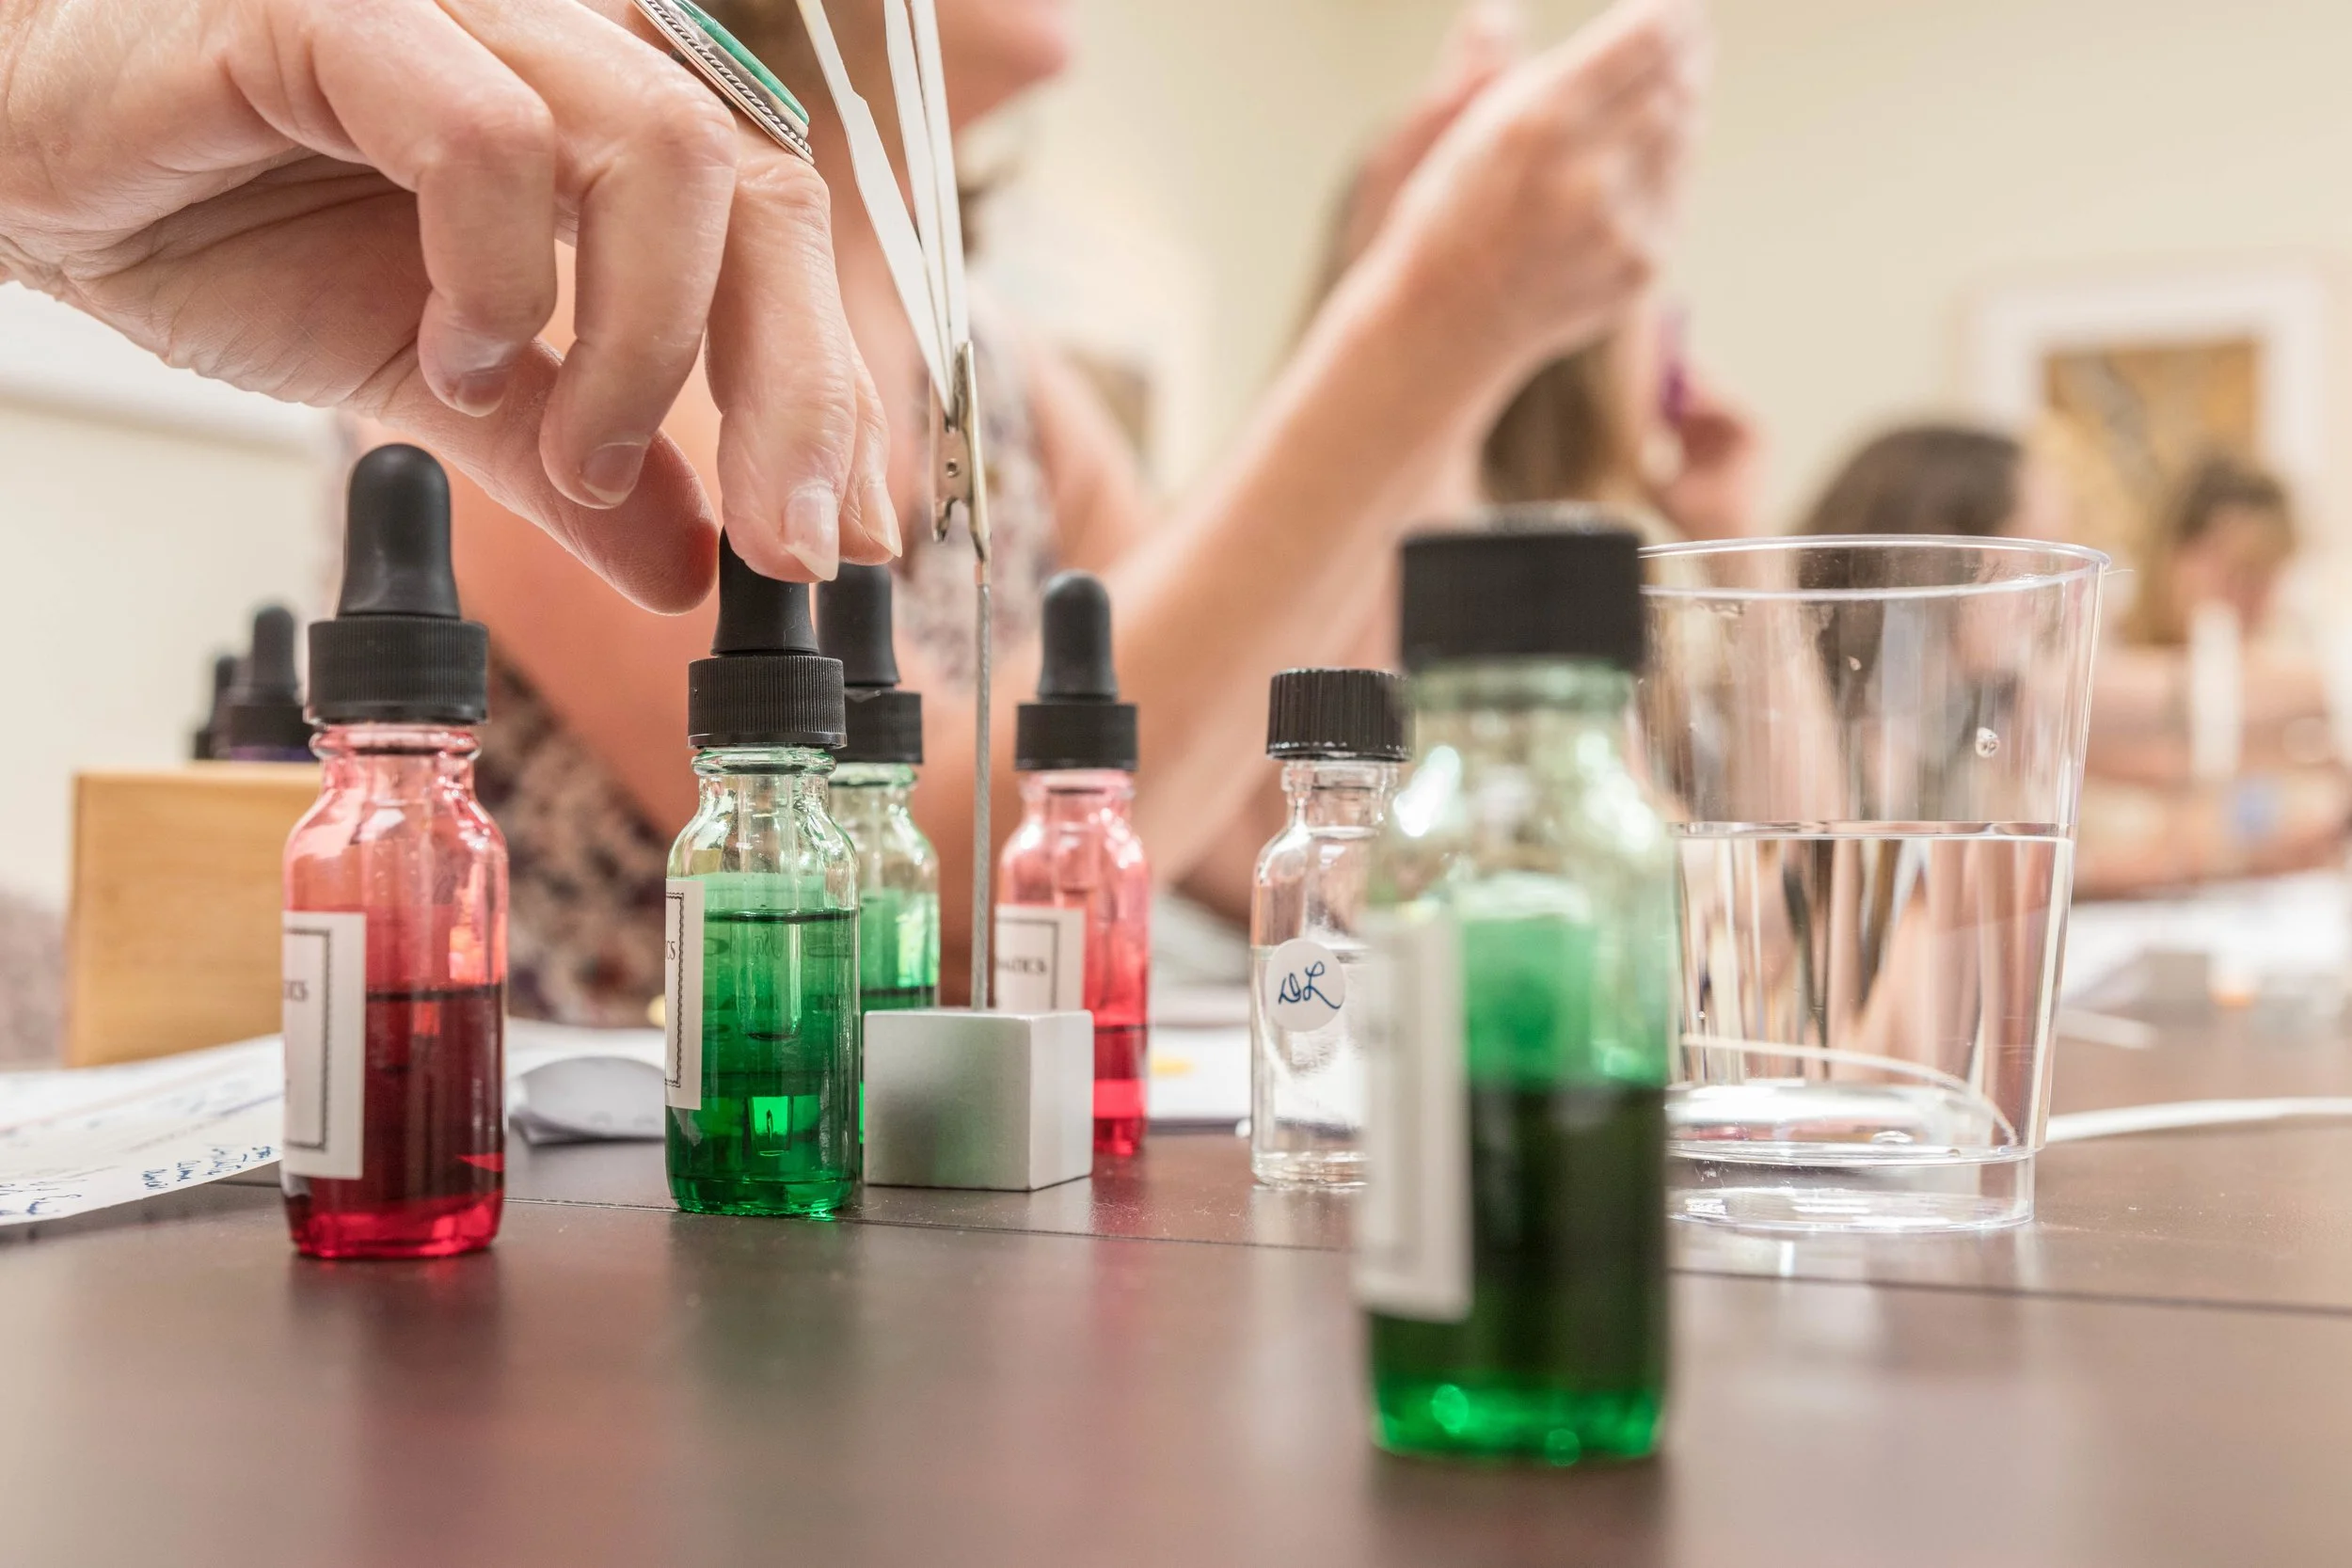
Joyful Vows,
Rewind Photography,
Lerina Winter Photography,
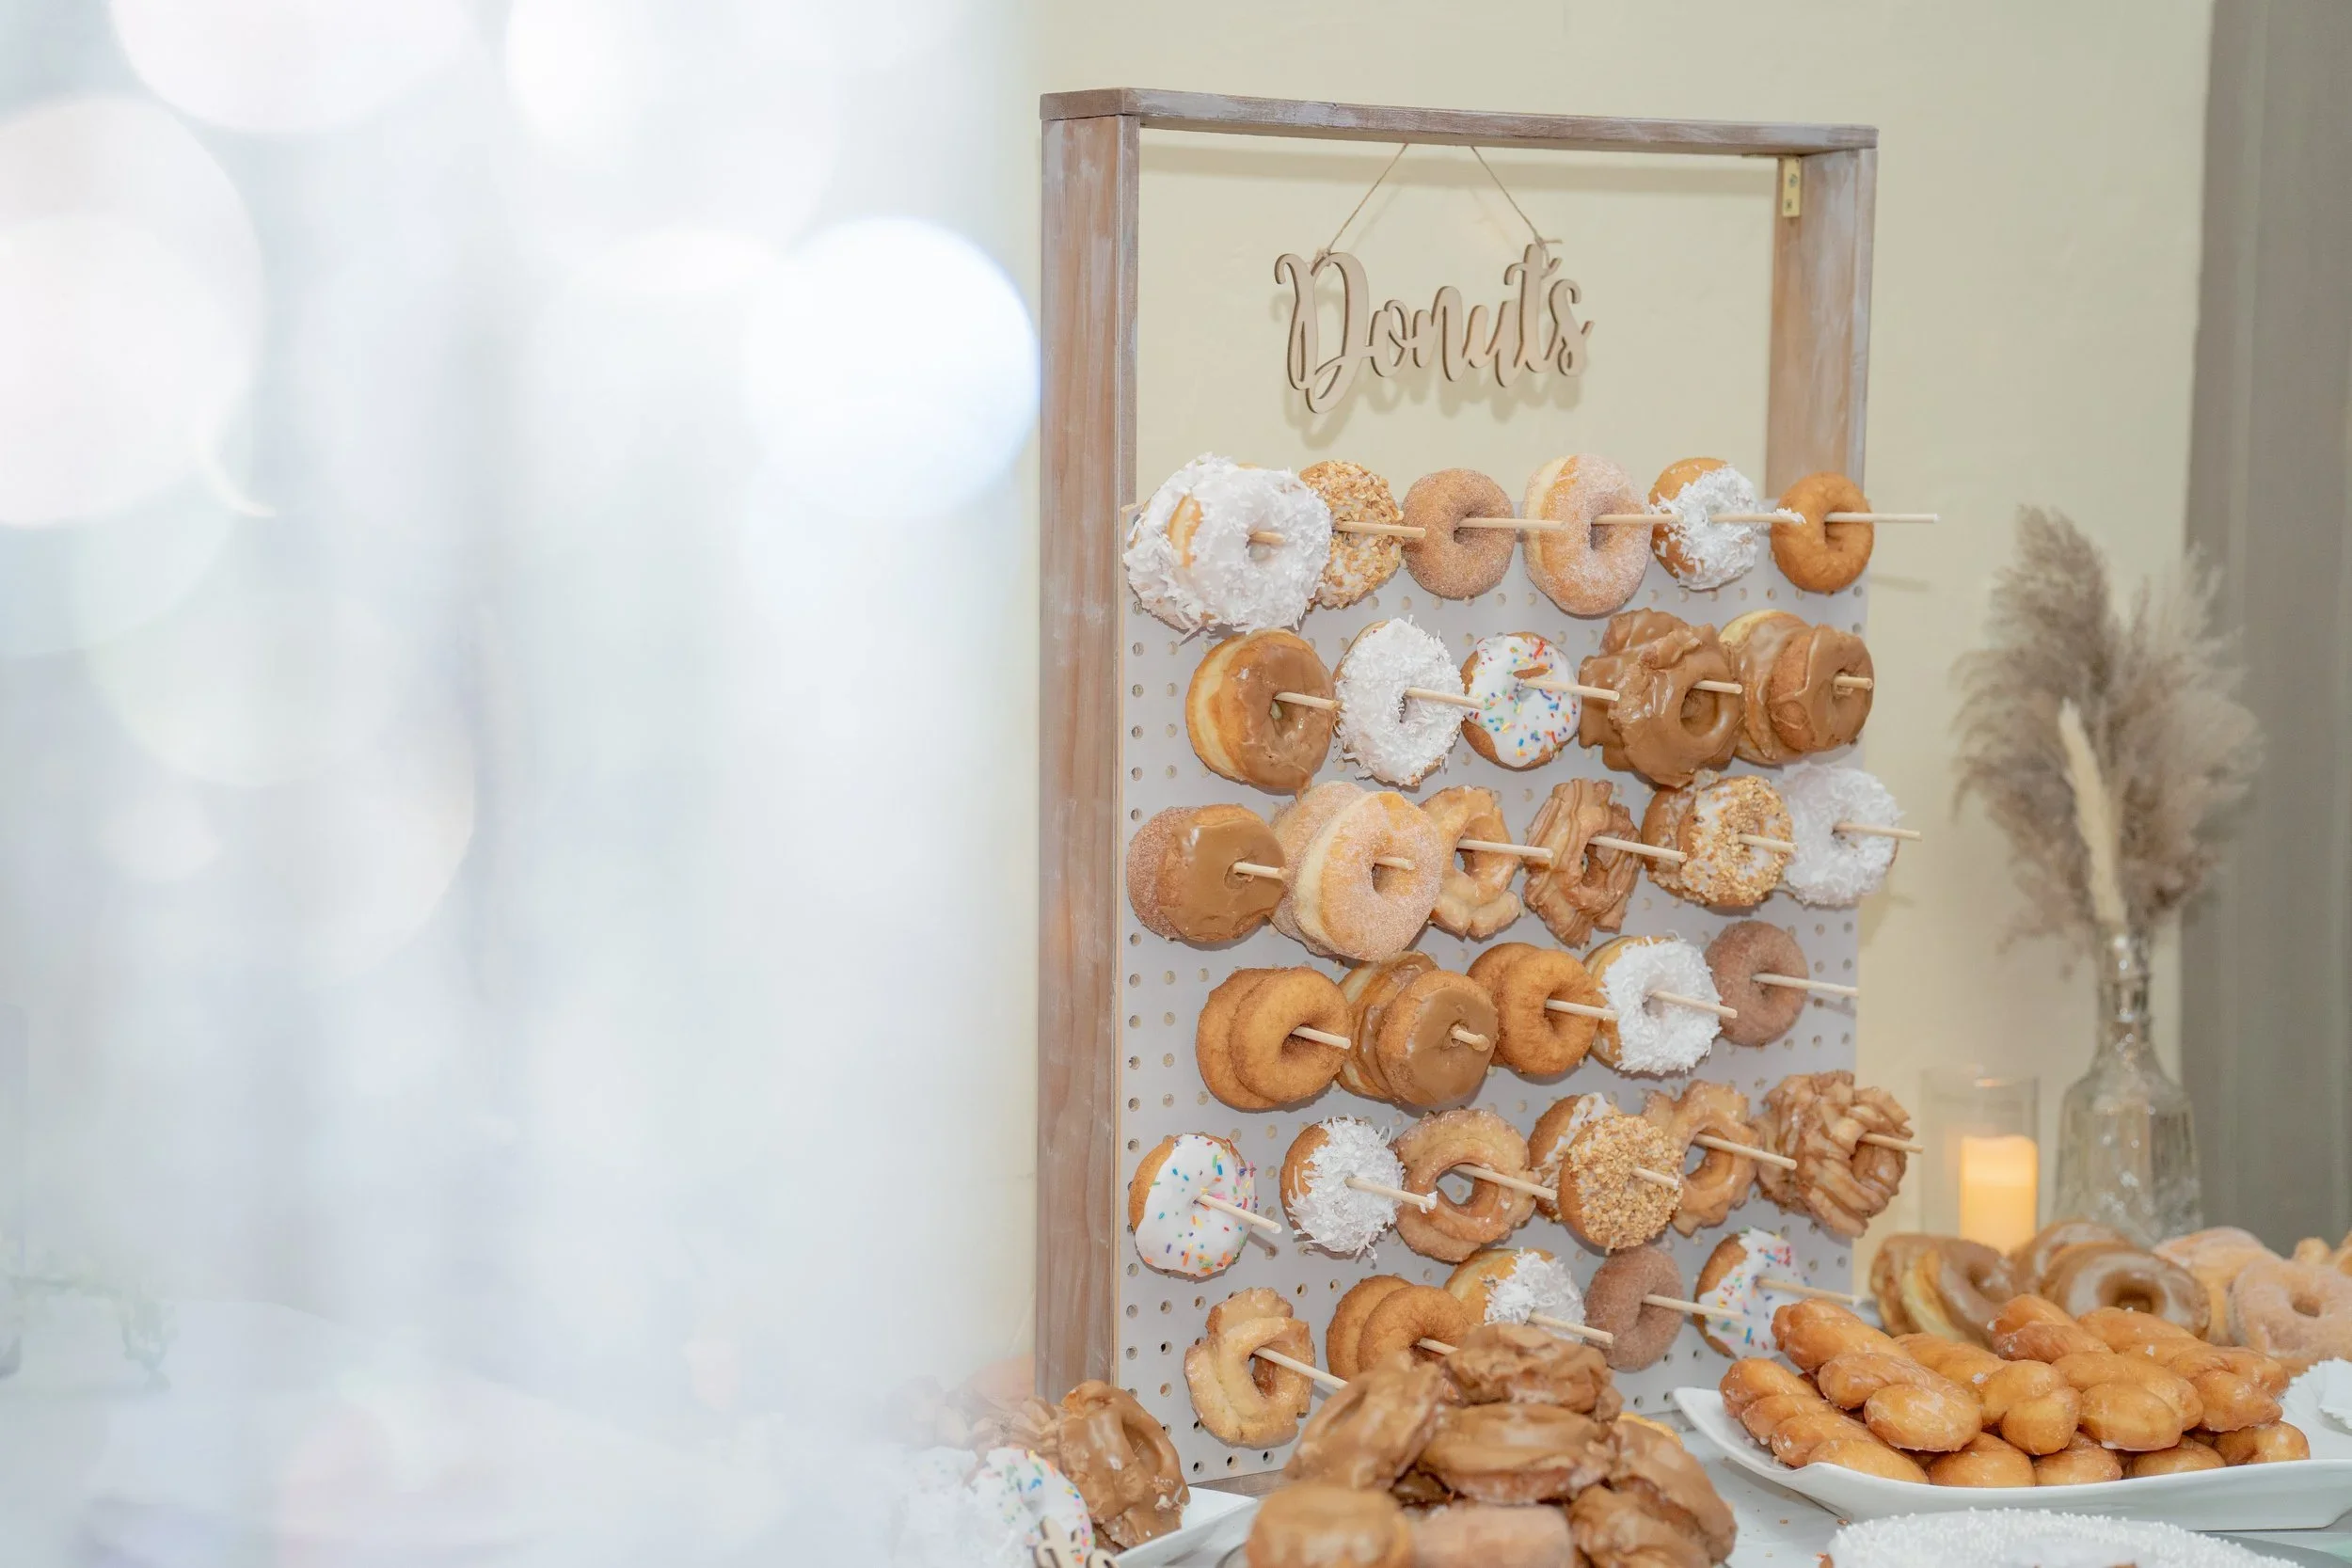
Anna's Bakery,
Anastasia Tamarina Photography,
Drover's Donuts
Megan Hageman
Jocelyn & Spencer,
Anna Delores Photography,
Half Full Photography,
Christian Oth Studio,
Augusta Ottillia Photography,
Grace Kathryn Photography,
Joyful Vows,
Rewind Photography,
Lerina Winter Photography,
Anna's Bakery,
Anastasia Tamarina Photography,
Drover's Donuts
Megan Hageman
Read More
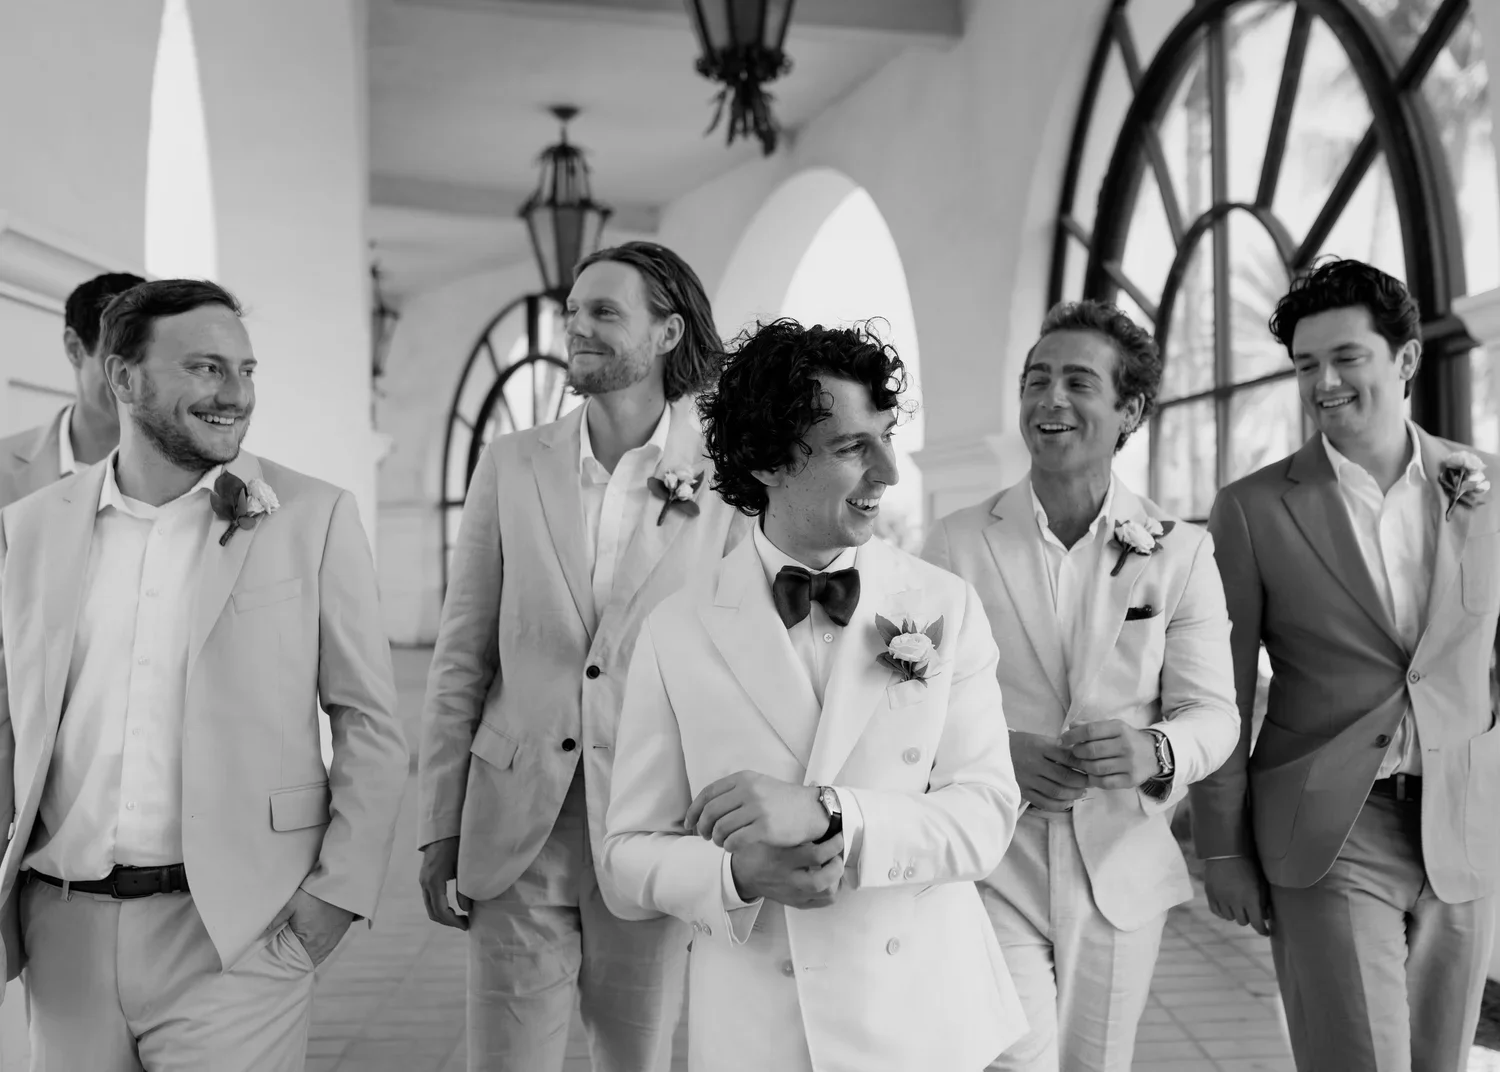
Karen D. Photography,
Claire Barrett Photography,
Haley Garces Photography,
Heather Payne Photo,
Michelle Ramirez Photography,
Kurt Boomer Photography,
Montana Dennis,
Mike Larson
Megan Hageman
Karen D. Photography,
Claire Barrett Photography,
Haley Garces Photography,
Heather Payne Photo,
Michelle Ramirez Photography,
Kurt Boomer Photography,
Montana Dennis,
Mike Larson
Megan Hageman
Read More
Zaca Lake,
Lena Britt Photography,
Slate Catering,
Julie Christy,
Candies Querfurth,
Courtenay Miller,
Homegrown Events,
Welcome Coffee Cart
Megan Hageman
Zaca Lake,
Lena Britt Photography,
Slate Catering,
Julie Christy,
Candies Querfurth,
Courtenay Miller,
Homegrown Events,
Welcome Coffee Cart
Megan Hageman
Read More
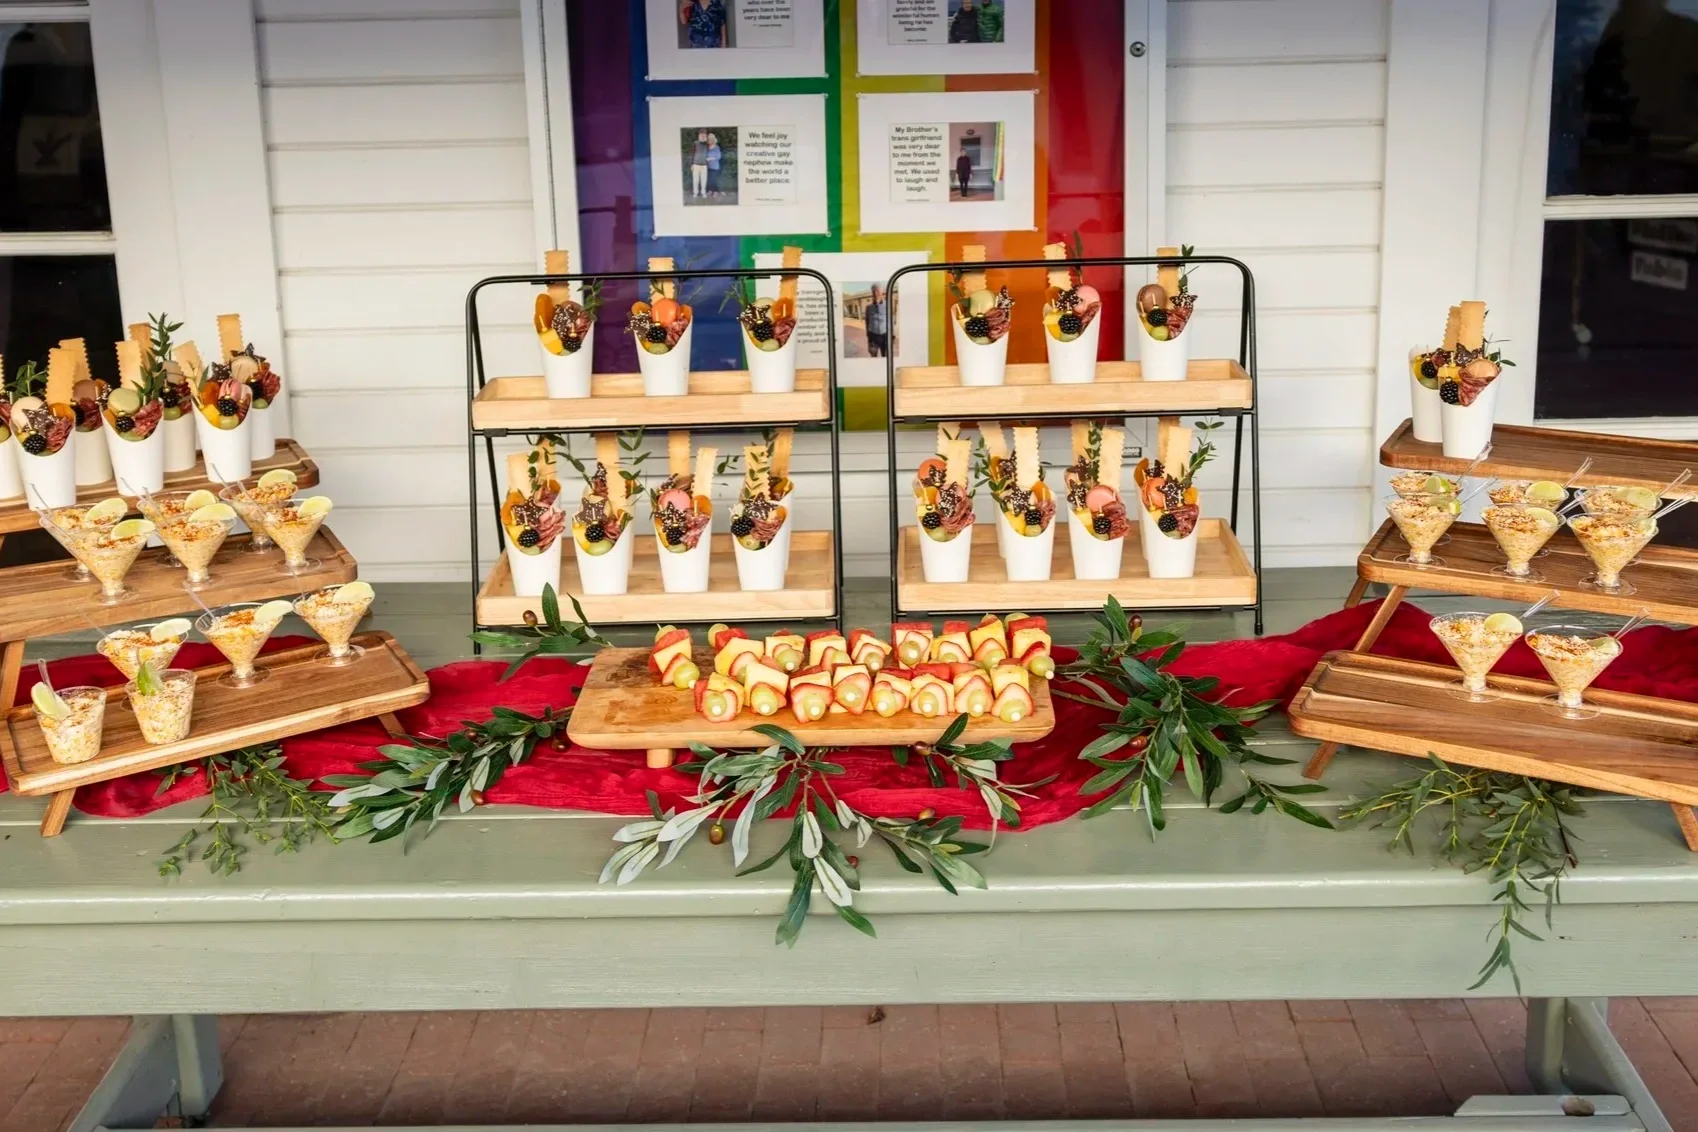
Savoir Faire Catering,
Catering Connection,
Anna Delores Photography,
Mundos Catering,
Braydon Russel Photograph,
Pure Joy Catering,
Jodee Debes Photography,
Kurt Boomer Photography,
Claudia Craig Photography
Megan Hageman
Savoir Faire Catering,
Catering Connection,
Anna Delores Photography,
Mundos Catering,
Braydon Russel Photograph,
Pure Joy Catering,
Jodee Debes Photography,
Kurt Boomer Photography,
Claudia Craig Photography
Megan Hageman
Read More
Weddings by Susanne Dunne,
Sposto Photography,
Olive Grove Estate,
Mulberry & Moss,
Pure Joy Catering,
Riz Transportation,
Bright Event Rentals,
BBJ La Tavola,
Room for Cake,
Ben Mallare Events
Megan Hageman
Weddings by Susanne Dunne,
Sposto Photography,
Olive Grove Estate,
Mulberry & Moss,
Pure Joy Catering,
Riz Transportation,
Bright Event Rentals,
BBJ La Tavola,
Room for Cake,
Ben Mallare Events
Megan Hageman
Read More
Willa Kveta Photography,
Pinnel Photography,
Gina and Ryan Photo,
Kindred by Ash,
Michelle Ramirez Photography,
Girl Squad Media,
Riviera Mansion
Zohe Felici
Willa Kveta Photography,
Pinnel Photography,
Gina and Ryan Photo,
Kindred by Ash,
Michelle Ramirez Photography,
Girl Squad Media,
Riviera Mansion
Zohe Felici
Read More
Agape Films,
The Maker's Son,
Sister B Studios,
Music by Bonnie,
805 Makeup,
Santa Barbara Bridal,
White Horse and Carriage Company,
Big Red Baking Company
Megan Hageman
Agape Films,
The Maker's Son,
Sister B Studios,
Music by Bonnie,
805 Makeup,
Santa Barbara Bridal,
White Horse and Carriage Company,
Big Red Baking Company
Megan Hageman
Read More
Michelle Ramirez Photography,
Loveridge Photography,
Anna Delores Photography,
Anna Joy Creative,
Whitney Turner Photography,
Ryanne Bee Photography,
James & Jess Photography
Megan Hageman
Michelle Ramirez Photography,
Loveridge Photography,
Anna Delores Photography,
Anna Joy Creative,
Whitney Turner Photography,
Ryanne Bee Photography,
James & Jess Photography
Megan Hageman
Read More
Surraya Event Planning + Design,
Haley Garces Photography,
Best Day Ever,
Fleur de Rye,
Santa Barbara Courthouse,
Drift Hotel Santa Barbara,
Simply Cocktails,
Bettina Pizzeria,
Santa Barbara Chef Collective,
Room for Cake,
Sama Sama Catering,
Nuage Designs,
Party Pleasers,
Samara Beauty,
Henna Me Beautiful,
Smilebox Photo Booth,
LeFunk Sounds,
Kimpton Canary Hotel,
Gavin Roy Presents,
West Films,
Ink Paper Crafts,
Velvet Fox Designs
Megan Hageman
Read More
Lena Britt Photography,
Grace Kathryn Photography,
Nate and Jenny Weddings,
Leah Sofia Photography,
Danya Izarraraz,
The Little Things Bakery,
John Cain Photography,
Camp Carmina
Megan Hageman
Lena Britt Photography,
Grace Kathryn Photography,
Nate and Jenny Weddings,
Leah Sofia Photography,
Danya Izarraraz,
The Little Things Bakery,
John Cain Photography,
Camp Carmina
Megan Hageman
Read More
I Love You Maddly Events,
Santa Barbara Hive,
Smoking Gun Bar Staffing,
JeanieC Charcuterie,
A Pretty Little Posie,
Sara Pacheco Beauty,
Cakes by Heather Ashley,
Bouquet Sound,
Lotus Healing Studio,
Artistry by Adonna,
Julia Garcia,
Elizabeth Victoria Photography,
Emily Hart-Roberts Photography,
Jasper & Oak,
Allie Dearie Photography,
Ventura Rentals,
Party Pleasers,
The Dresser Bridal Couture,
Live Oak Unitarian Universalist Congregation,
Daniel Ramirez,
Roxy Ozuna
Megan Hageman
Read More
Lauren Maeve Photography,
Coastal Rose Events,
The Twisted Twig,
The Presidio Chapel,
Gala Restaurant,
Avow Ceremonies and Services,
Lele Patisserie,
Chris Fossek,
Marla & Co.,
Amigo Event Rentals
Megan Hageman
Lauren Maeve Photography,
Coastal Rose Events,
The Twisted Twig,
The Presidio Chapel,
Gala Restaurant,
Avow Ceremonies and Services,
Lele Patisserie,
Chris Fossek,
Marla & Co.,
Amigo Event Rentals
Megan Hageman
Read More